Why and How to Add Child Spaces to Your Native Spaces Listing
Once your main venue is published on Native Spaces, you have the option to take things further by creating what we call "child spaces." Specifically, this means you can detail the different parts of your venue that can be rented separately. A meeting room, a garden, a terrace, a kitchen, a rooftop... Each zone can become a sub-venue with its own dedicated listing, characteristics, photos, and capacity.
Why create child spaces?
This feature primarily makes your listing more flexible and accessible. Many organizers do not need an entire venue. By describing each part of your property as a distinct child spaces, you enable clients to book only what they truly need. This increases your chances of attracting varied requests and makes your venue easier to rent, including for smaller events such as meetings, executive seminars, presentations with VIP clients, and more.
It is also a way to make your listing clearer. Many venues have several distinct zones, but few hosts take the time to describe them separately. However, a client looking for a meeting room may not be interested in a garden. And vice versa. By adding each zone as a child space, you multiply your opportunities to match precise searches.
This also allows you to display several different capacities, multiple possible configurations (seated, standing, indoor, outdoor...), and better explain your venue's flexibility. Finally, it boosts your overall visibility on the platform, as each child spaces is taken into account in the ranking algorithm.
How to add a child space?
Option 1: Create a child space via “Add a space”
.png)
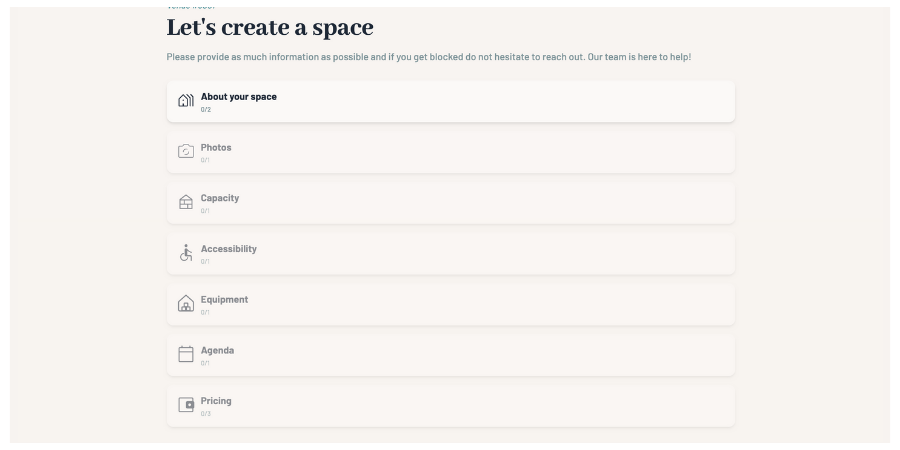
Once your main venue is saved, click on "Add a space." You will then access a simplified form designed to allow you to create a clear and complete listing for each zone. After that, it's just as if you were creating a new listing.
👉 Here are the steps to follow to create a listing
Option 2: Create child spaces directly in the venue form
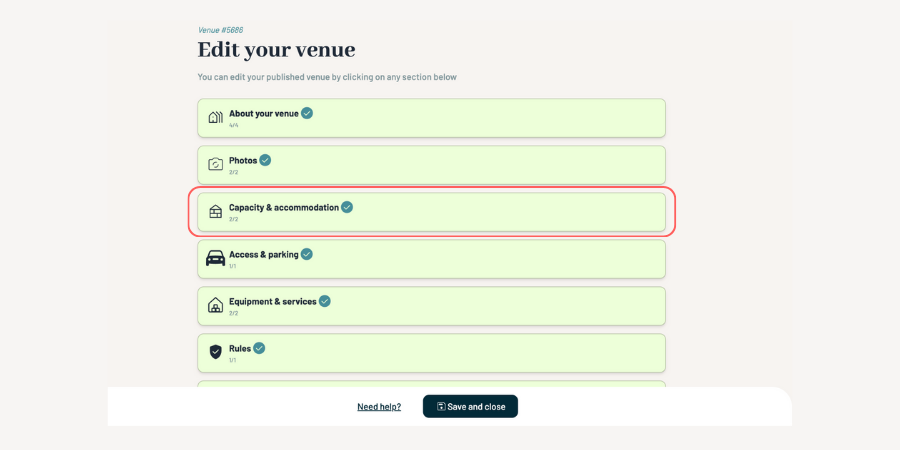
You can also start creating child spaces directly from the venue creation form, when you are defining capacities.
At this stage, instead of entering a single capacity for the whole venue, you can specify different areas and turn them into individual child spaces right away.
.png)
The process of creating a child space
Venue Type
The first question you will be asked concerns the type of venue you are offering. It's important to select the category that best matches your primary location: Villa, Rooftop, Castle, Apartment, Restaurant, etc.
The chosen type helps categorize your venue correctly in search results.

Venue Description
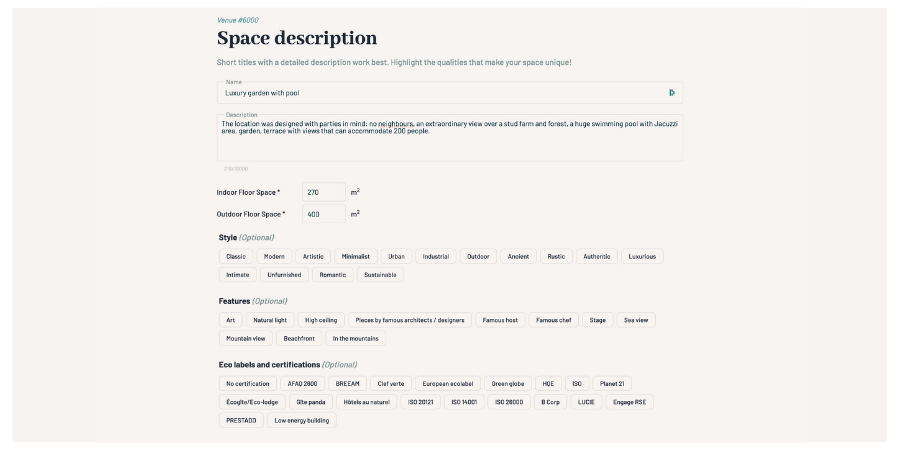
Next, you will need to fill in the fields related to your venue's description.
The title you enter will only be visible to you: it serves to identify your venue in your dashboard. The platform automatically generates a title optimized for the public.
However, the detailed description is essential and entirely up to you. It will be visible on your listing. Take the time to write clear, informative, and specific text. Highlight the features that make your venue attractive for events: room layout, general atmosphere, accessibility, available equipment, included services, etc.
👉 Discover our tips for writing a top-notch description!
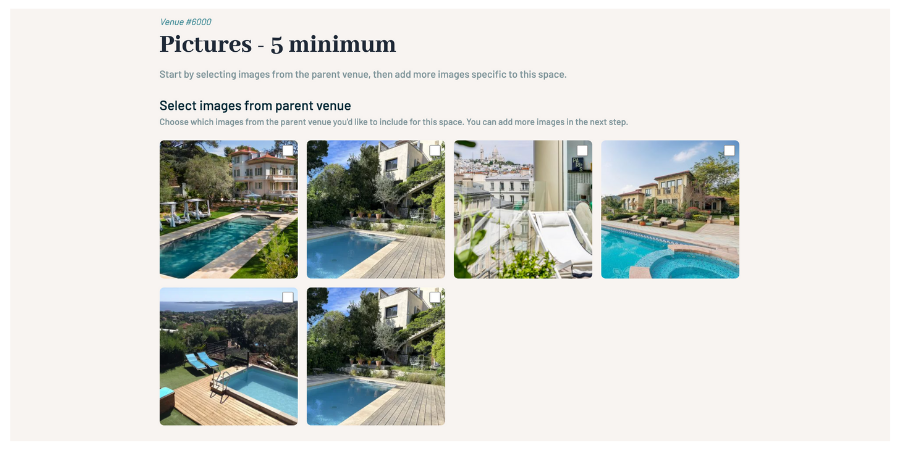
Add Quality Photos
Photos are a determining factor in event planners' decisions. A good listing starts with a great first impression. This is why you must upload at least 5 photos of your venue that clearly showcase what you offer.
We strongly recommend:
- Sharp, well-framed photos, in landscape orientation
- Natural light if possible
- Photos that show volumes, different areas, and access points
👉 Discover our tips for taking quality photos with your smartphone
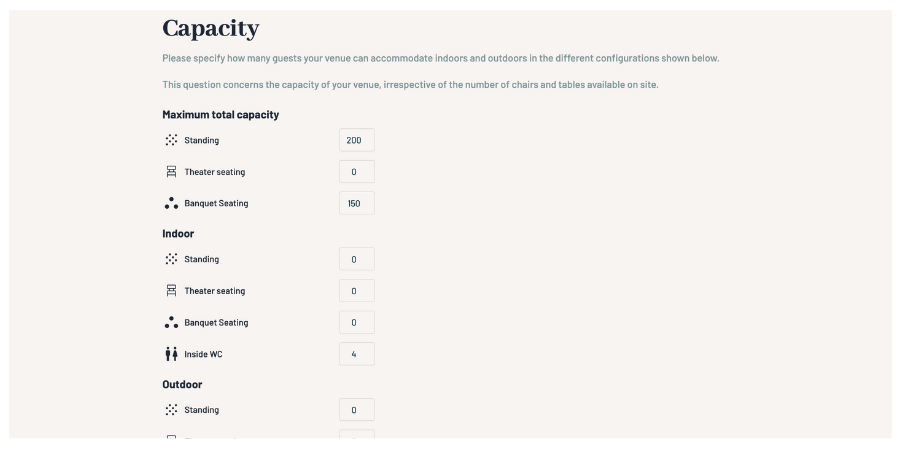
Specify Your Venue's Capacity
Capacity is vital information for event planners. It lets them know immediately whether your venue can accommodate their event. In this section, you must indicate the maximum number of guests your venue can accommodate, standing and seated, indoors and outdoors.
This is not about the number of chairs or tables available on-site, but rather the structural capacity of your venue.
This information is used in search filters, so the more accurate it is, the more likely you are to appear in the right results. It also helps clients visualize their event in your space without having to ask additional questions.
👉 Learn how to calculate your venue's capacity
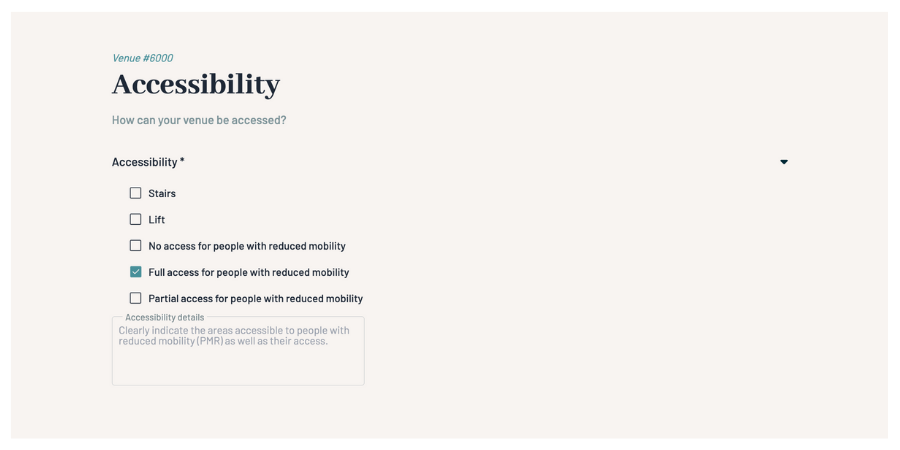
Accessibility
Provide details on accessibility, such as elevators, stairs, or dedicated access for persons with reduced mobility (PRM). You should also include information regarding parking and any other essential logistical details.
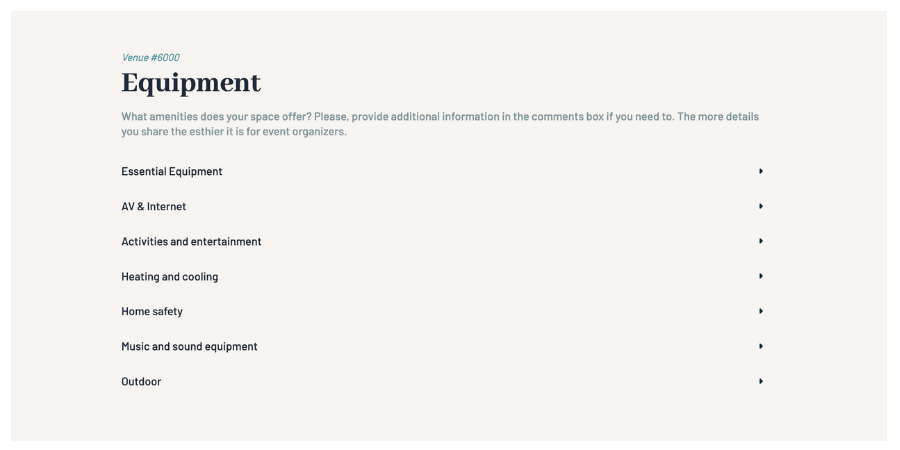
Equipment & Additional Services
Please select the features available at your venue. Feel free to provide all the details, the more information you share, the easier it is for event organizers to plan.
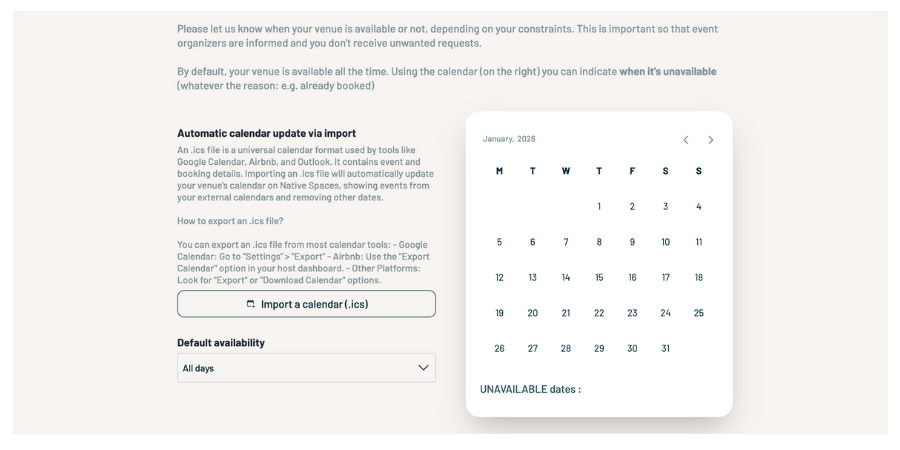
Define Your Availability
By default, your venue is considered continuously available. If you have specific periods when it is not available for rental (booked, maintenance, personal use, etc.), you can block them in the availability calendar.
Use the calendar to indicate unavailable dates, which helps to:
- Avoid irrelevant inquiries
- Save time for both you and the clients
- Keep your agenda up to date, which improves your visibility on the platform
👉 Discover how to sync the calendar in your listing
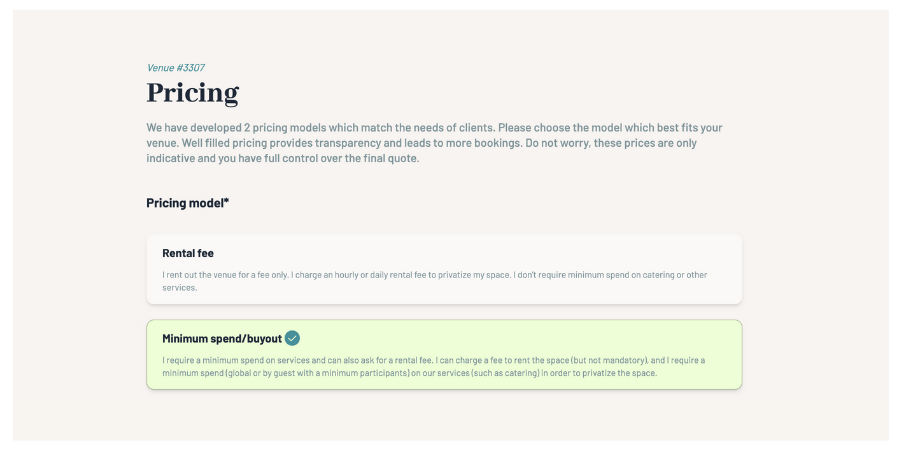
Pricing
Native Spaces offers you two pricing models based on how your venue operates:
- Rental Fee
You charge the rental by the hour or by the day. No minimum spend is imposed for catering or services.
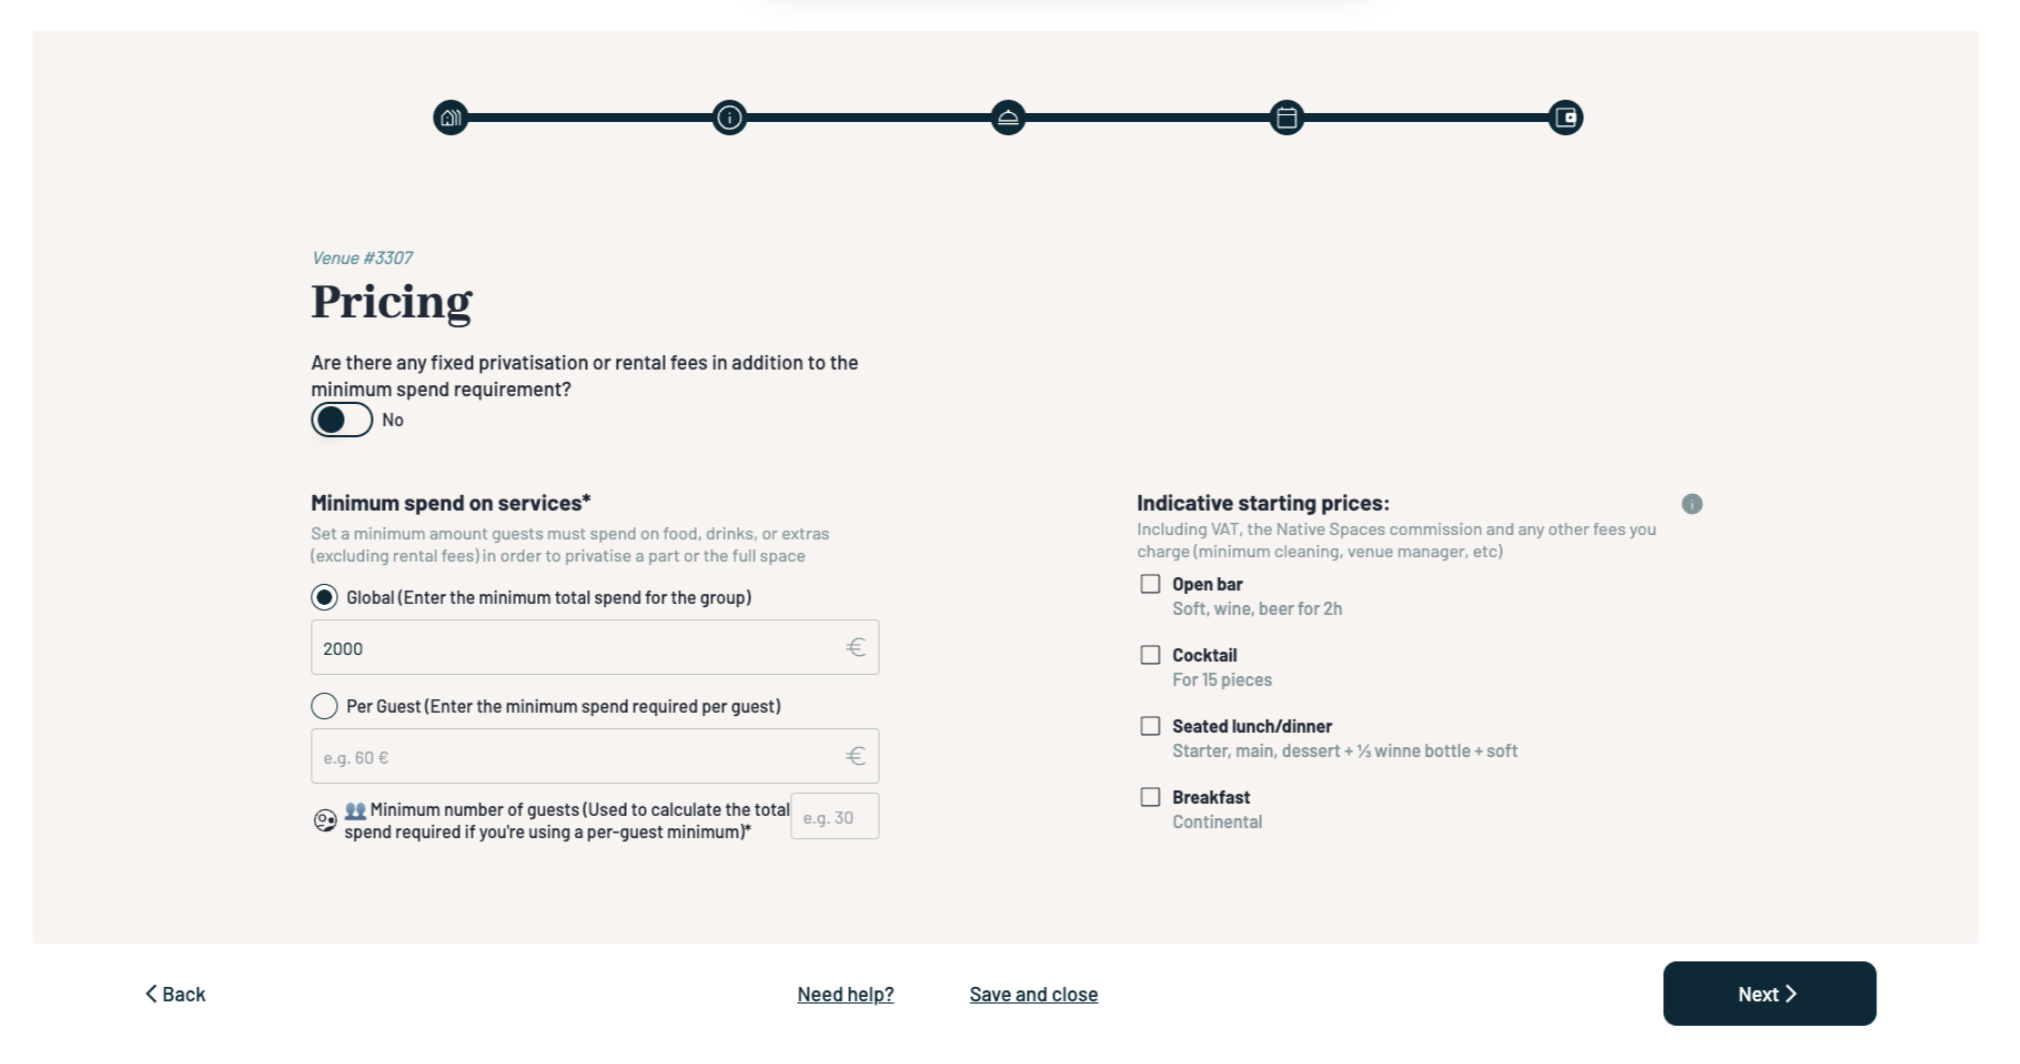
- Minimum Spend
You require a minimum consumption amount (per guest or total), with or without a rental fee. This option is ideal for venues like restaurants, bars, or event spaces with integrated offerings.
In all cases, your starting prices must include:
- VAT (if applicable)
- The Native Spaces commission
- And any other fixed fees (cleaning, venue manager, security, etc.)
A free-text field is provided to add details about your pricing structure, such as: seasonal variations, possible discounts, menu examples, weekend supplements, etc.
👉 Learn how to define your venue's pricing
Define Deposit and Security Deposit
You can indicate the required down payment amount to confirm a booking. We generally recommend between 30% and 50%, but you can request up to 100% if you wish.
You can also add a security deposit, paid directly by the organizer, to cover potential damages. This deposit is managed by you, not by Native Spaces. You are responsible for its collection, verification, and return.
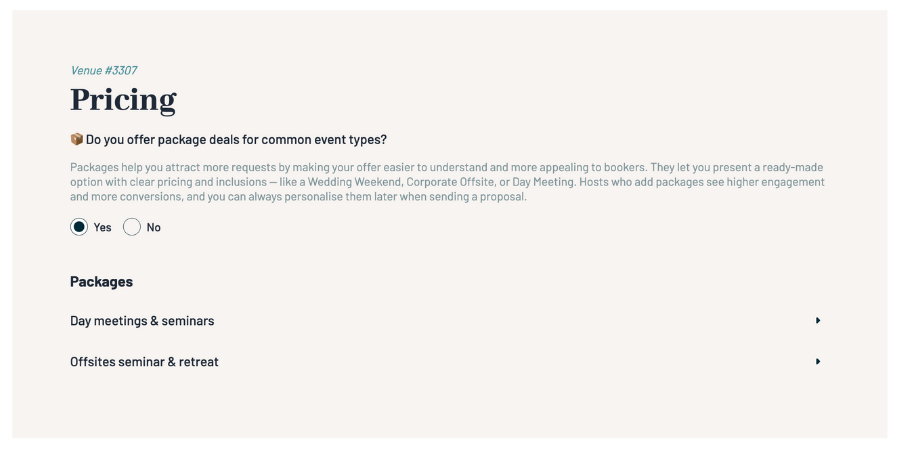
Create Packages
Packages are an excellent way to make your offer clearer and gain visibility. They allow organizers to view a complete proposal at a fixed price for a common event type:
- Wedding weekend
- Seminar day
- Company evening event
- Ad-hoc meeting
You can then customize each package during negotiation with the client. It provides a clear foundation that facilitates discussions.
👉 Find our tips for creating a perfect venue listing
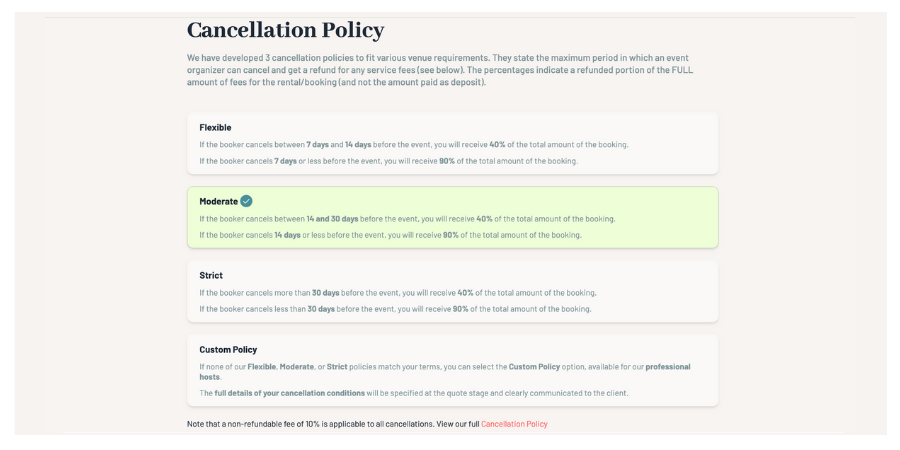
Choose Your Cancellation Policy
For each venue, you must choose a cancellation policy. This defines up to what point a client can cancel and under what conditions you receive a portion or the entirety of the reserved amount.